Why Ecuador Is the Perfect Destination to Explore the Andes
The Ecuadorian Andes are among the planet’s most fascinating mountain destinations—and not just because of the impressive stats their volcanoes boast. After years on these trails, I can say what truly sets hiking here apart is the rare mix of accessibility, diversity, and cultural richness. In many ranges you need weeks of expedition to reach serious altitude; in Ecuador, you can stand at 5,000 meters above sea level within days, surrounded by perennial glaciers and golden páramos that feel lifted straight from another world.
Part of the magic is how concentrated everything is. In a relatively small territory you’ll find more than a dozen volcanoes over 4,500 meters, crater lakes with impossibly turquoise water, Indigenous communities preserving millennia-old traditions, and unique ecosystems where condors still soar. I’ve watched sunrises from Cotopaxi that rival any Himalayan postcard and sunsets at Quilotoa worthy of the finest Alpine scenes.
This guide draws on first-hand experience along the Andes’ signature routes. You’ll find detailed advice on the best areas to explore, trails by difficulty, practical tips for acclimatization and gear, and recommendations on planning responsibly—respecting both nature and local communities. By the end, you’ll have everything you need for a mountain experience you’ll remember for a lifetime.
Essential Destinations: Where to Trek in Ecuador
Cotopaxi National Park
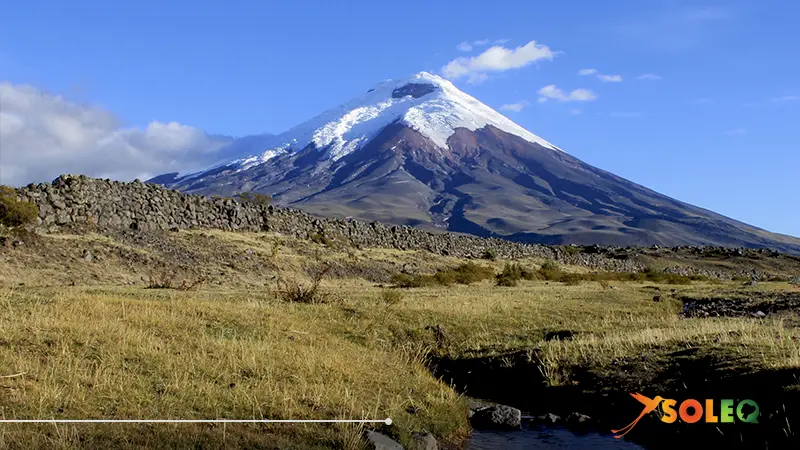
Is the undisputed hub of high-altitude hiking in Ecuador. Dominated by the world’s highest active volcano (5,897 masl), the park offers everything from easy strolls around Limpiopungo Lagoon to the demanding glacier ascent. The trail to José Ribas Refuge (4,800 m) is ideal for anyone seeking a true high-mountain feel without advanced technical gear. The Andean páramo—dotted with frailejones and roaming vicuñas—creates a scene I’ve rarely seen replicated elsewhere.
Quilotoa Lagoon
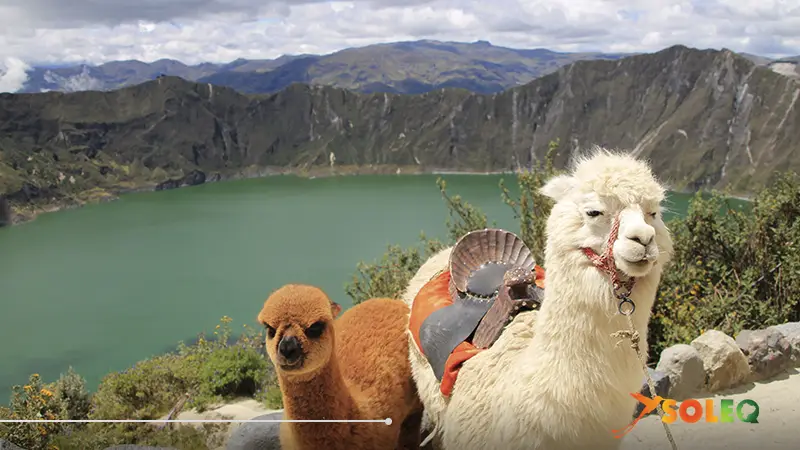
Delivers a very different experience. This flooded volcanic crater, with its almost unreal emerald waters, is one of the country’s most photographed hikes. Beyond the popular rim walk lies the Quilotoa Loop: a multi-day traverse linking rural communities along ancestral paths. On this route I’ve shared coca tea with Kichwa families in villages like Isinliví and Chugchilán—cultural encounters that enrich the physical journey.
Chimborazo
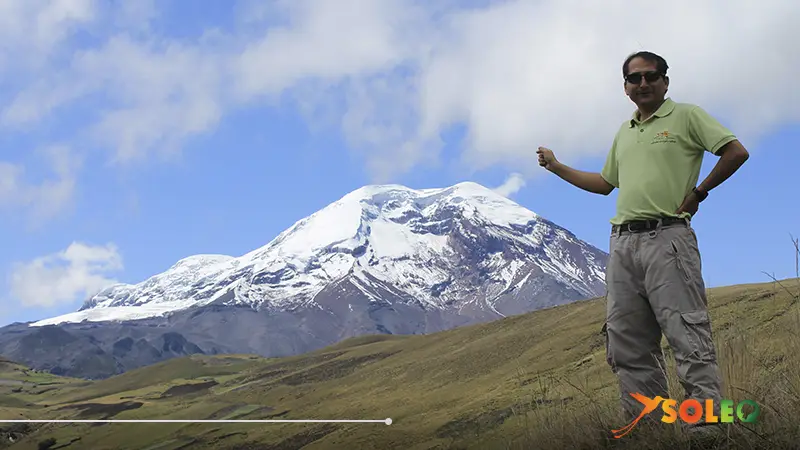
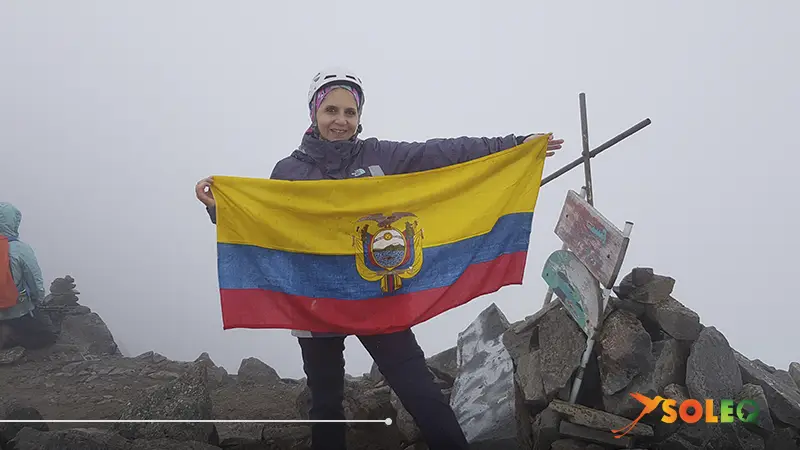
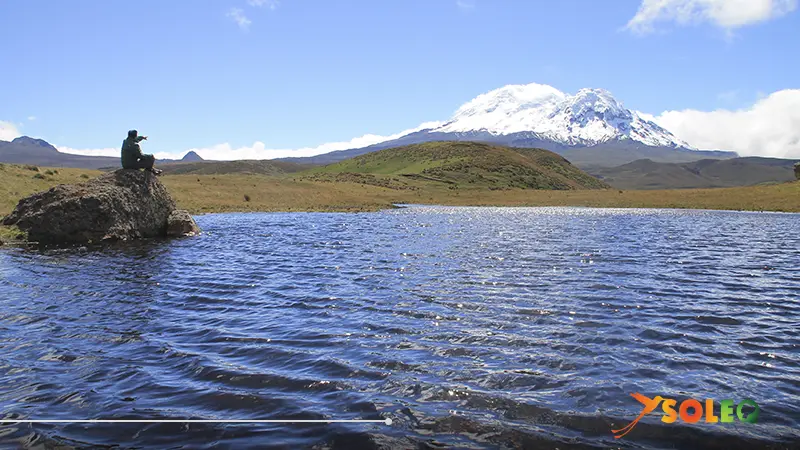
the 6,263-meter colossus whose summit is the farthest point from Earth’s center, is the ultimate challenge for experienced hikers. While the top requires technical mountaineering, the routes to Carrel Refuge (4,800 m) and Whymper Refuge (5,000 m) are achievable for well-acclimatized trekkers. I still remember standing above the clouds at daybreak while the rest of the country slept far below.
Other must-see areas include Cayambe (5,790 m), Ecuador’s third-highest peak and the only place on Earth where the equator crosses a glacier; Antisana (5,753 m), a stronghold for the Andean condor and one of the most pristine landscapes I’ve walked; and the less-visited Illinizas, twin peaks (North and South) offering everything from moderate scrambling to technical rock climbing.
Detailed Routes: Distance, Difficulty, and Best Season
Quilotoa Crater Rim
For those new to high altitude, the Quilotoa Crater Rim is a perfect introduction. This roughly 12 km circuit at 3,850 m takes 4–6 hours depending on pace. Elevation gain is modest (around 200 m), but the altitude already demands some adaptation. The prime season runs June–September, when rain is less frequent and views are at their best. I’ve descended to the shore a few times—just know the return is a steep climb that gives your quads a serious workout.
For a deeper adventure, the full Quilotoa Loop offers a 3–4 day immersion through Andean páramo. The ~40 km traverse links Quilotoa, Chugchilán, Isinliví, and Sigchos, dropping into canyons and climbing to viewpoints over 4,000 m. Total elevation gain is roughly 2,500 m, spread across 4–7 hour stages. On my last July traverse, mornings were cold but clear—ideal for walking—while light afternoon drizzle cooled us without slowing progress.
The trail to Cotopaxi’s José Ribas Refuge is a notable step up. From the parking area at 4,500 m you gain only about 300 m, but every step feels close to the edge of the habitable zone. This 1–2 hour hike is an excellent test of your response to extreme altitude. The best windows are December–January and June–August. I’ve seen very fit hikers struggle here if they rushed acclimatization—respect the process.
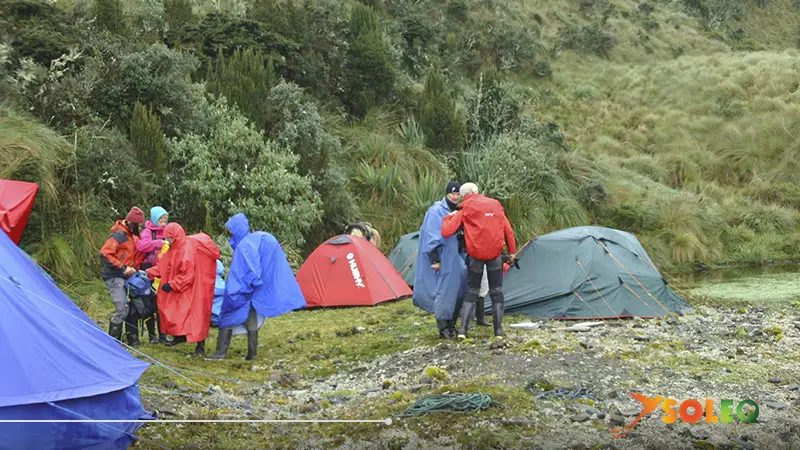
The Cóndor Trek (Antisana) is a standout for strong intermediate hikers who want wildlife plus dramatic volcanic scenery. This ~18 km route can be done in a long day (7–9 hours) or split into two relaxed stages, camping in the páramo near Mauca Machay Lagoon. Altitude ranges from 3,800 to 4,200 m, with ~600 m of total ascent spread over gradual, manageable climbs.
Beyond its accessible profile, the real draw is the chance to spot Andean condors in their natural habitat. On my September trek we watched five condors riding the cliffs of Antisana—a spectacle worth the effort alone. The best season runs June–October, when weather is more stable and condor activity is higher. Still, the area is humid and variable: even in the dry season be ready for sudden rain or fog that can slash visibility. Patience with the mountain’s mood is part of the experience—some days Antisana hides; others, it unveils its glacier in breathtaking clarity.
What Experience Level Do You Need? (By Hiker Type)
Beginners
should focus on routes below 4,000 m with moderate elevation gain. Cuicocha Lagoon, the Peguche-to-Cuicocha trail, or lower-elevation walks in Cotopaxi National Park help you get used to the Andean environment without unnecessary risk. Pay close attention to how your body reacts and find a steady pace that suits you.
Intermediate
hikers with prior mountain experience can aim for the full Quilotoa circuit, the hikes to the Cotopaxi or Chimborazo refuges, or even Pasochoa (4,200 m). Expect sustained 5–7 hour days and altitudes between 3,500 and 5,000 m. You’ll also need a bit of mountain judgment—reading weather, and knowing when to push on or turn back.
Advanced mountaineers
can look to glacier summits. Chimborazo, Cotopaxi, Cayambe, and Illiniza South require excellent fitness plus technical skills with crampons, ice axe, and glacier travel. These climbs usually start around midnight and take 10–14 hours round trip. From experience: physical and technical preparation is non-negotiable—the mountain doesn’t forgive improvisation at these altitudes.
How to Adapt to Altitude: A Step-by-Step Acclimatization Protocol
Acute mountain sickness has ended more Ecuador expeditions than anything else. On my first Cotopaxi attempt I made the classic mistake: arriving from the coast and going for the refuge two days later. A throbbing headache, nausea, and heavy fatigue forced an early retreat. Acclimatization isn’t optional—it’s essential.
Early symptoms include headache, loss of appetite, insomnia, and disproportionate fatigue. If these progress to confusion, ataxia (loss of coordination), or severe breathing difficulty, you’re facing an emergency that demands immediate descent. I’ve learned to watch for these signs in myself and teammates, and I’ve never hesitated to abandon a summit when necessary.
What works best for me is gradual ascent. If you’re coming from sea level, spend 2–3 days in Quito (2,850 m) before moving higher. Then take day trips to 3,500–4,000 m, returning to sleep lower. This “climb high, sleep low” approach helps your body increase red blood cells without the stress of sleeping too high. Before anything over 5,000 m, I invest 4–5 days in this process.
Hydrate 3–4 liters/day and avoid alcohol while acclimatizing. I’ve also found coca tea helpful for mild symptoms. For major ascents, consult a doctor about acetazolamide (Diamox)—it can speed acclimatization, but it’s a complement, never a substitute for a proper plan.
Essential Technical Equipment for High Mountains
For beginner/intermediate routes without glaciers, pack: supportive trekking boots, a layering system (thermal base, insulating mid-layer, waterproof shell), a 30–40 L pack, trekking poles, and rigorous sun protection. At these latitudes UV is intense even under clouds, so Category 3–4 sunglasses, SPF 50+ sunscreen, and lip balm are mandatory.
For technical glacier climbs, gear becomes specialized and non-negotiable: B2/B3 mountaineering boots (semi-auto/auto crampon-compatible), 12-point crampons, technical ice axe, harness, helmet, and high-mountain clothing rated for −15 °C or colder. On my Chimborazo climb, the summit temperature with wind hovered near −20 °C; only an 800-fill down jacket and true high-mountain gloves kept me functional.
Lighting matters. Glacier ascents usually start between midnight and 2 a.m., so bring a powerful headlamp (≥300 lumens) plus spare batteries. In extreme cold, batteries drain faster—carry them close to your body on the ascent.
Practical Planning: Transport, Stays, and Permits
Quito is the natural base for most Andean trips. From the capital: Cotopaxi is ~90 minutes by vehicle, Quilotoa ~3 hours, and Chimborazo 4–5 hours. Many tour operators offer transport; you can also take public buses to hubs like Latacunga or Riobamba and arrange local rides. With partners, I often rent a 4×4 for flexibility around weather windows.
Accommodation
Is varied. Quito has everything from hostels to boutique hotels. To maximize time in the mountains, I like to stay closer to objectives: haciendas near Cotopaxi, community-run hostels along the Quilotoa Loop, or lodges around Riobamba for Chimborazo. These options cut transfers, feel more authentic, and contribute directly to local economies.
Permits and fees Vary
Cotopaxi National Park charges about US$10 for foreign visitors; Chimborazo is similar. Quilotoa usually has a US$2–3 community fee. For technical summits, many parks require a certified guide—it’s both a regulation and a major safety advantage. Local guides’ knowledge of routes, snow conditions, and emergency response is invaluable.
When to Go: Seasons and Weather
Ecuador’s best hiking windows align with two drier seasons: June–September and December–January. During these periods, precipitation drops, skies clear more often, and high-altitude conditions are more predictable. My favorite is July–August, when the páramo turns golden and summit odds on the big volcanoes are at their peak.
Seasonality is less pronounced than in other ranges. I’ve had excellent hikes in April and October (transition months) by timing local windows—and enjoying quieter trails. The key is flexibility: monitor forecasts and be ready to adjust plans.
Temperatures swing dramatically with altitude. Around 3,000 m, expect 15–20 °C by day and 5–10 °C at night. Above 5,000 m, daytime often stays below 0 °C and nights can drop to −15 °C or lower. Plan a versatile layering system.
Responsible Hiking: Caring for the Andes
Growing popularity brings responsibility. Over the years I’ve seen both exemplary stewardship and behavior that harms fragile ecosystems. Leave No Trace principles aren’t suggestions—they’re ethical imperatives.
Pack out all trash, no exceptions. Even “biodegradable” scraps (like fruit peels) disrupt high-altitude environments where decomposition is slow. I carry an extra waste bag and often pick up what others left—turning each hike into a small act of conservation.
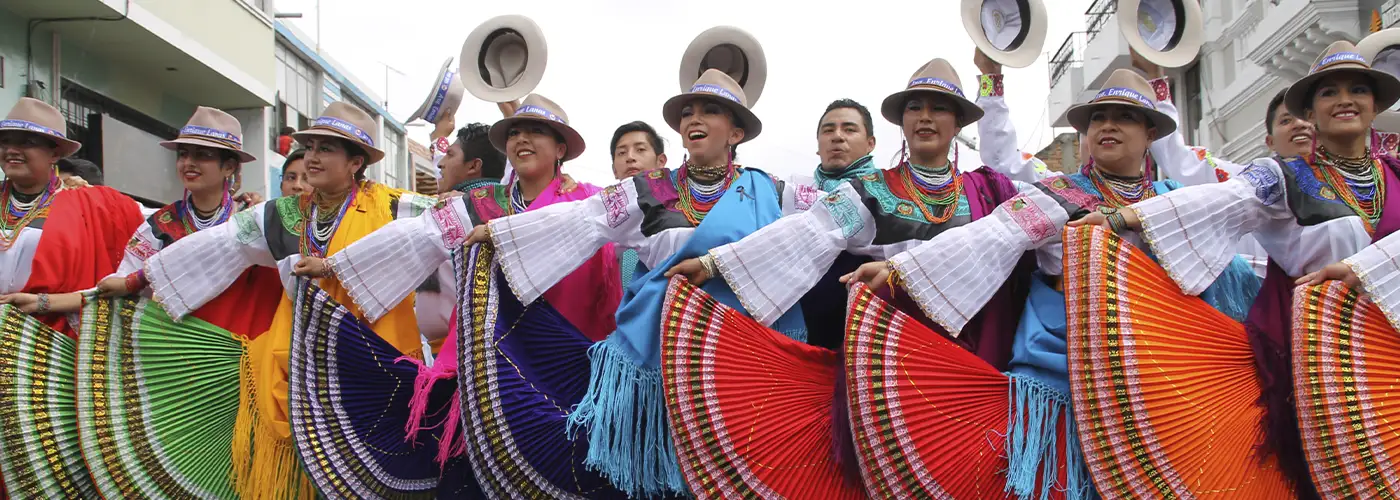
Respect Indigenous communities who steward these ancestral lands. Ask before photographing people or private property. When crossing community areas, buy crafts or eat locally—your spending has a tangible impact. Along the Quilotoa Loop, for instance, community-run lodging has transformed rural livelihoods.
Flora, Fauna, and Cultural Encounters
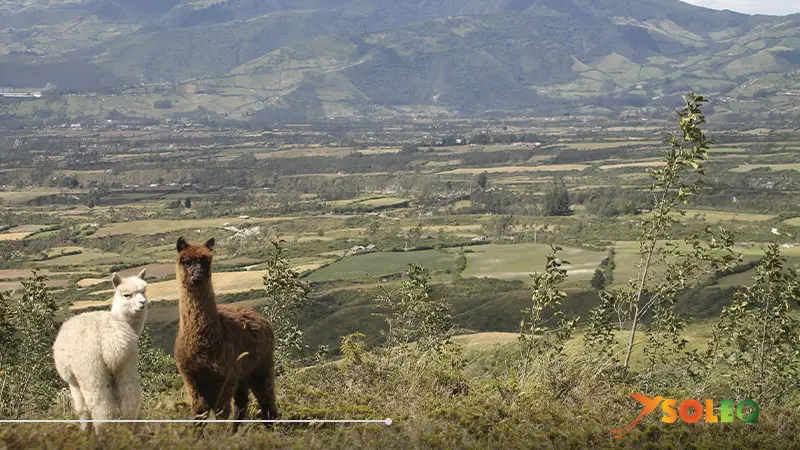
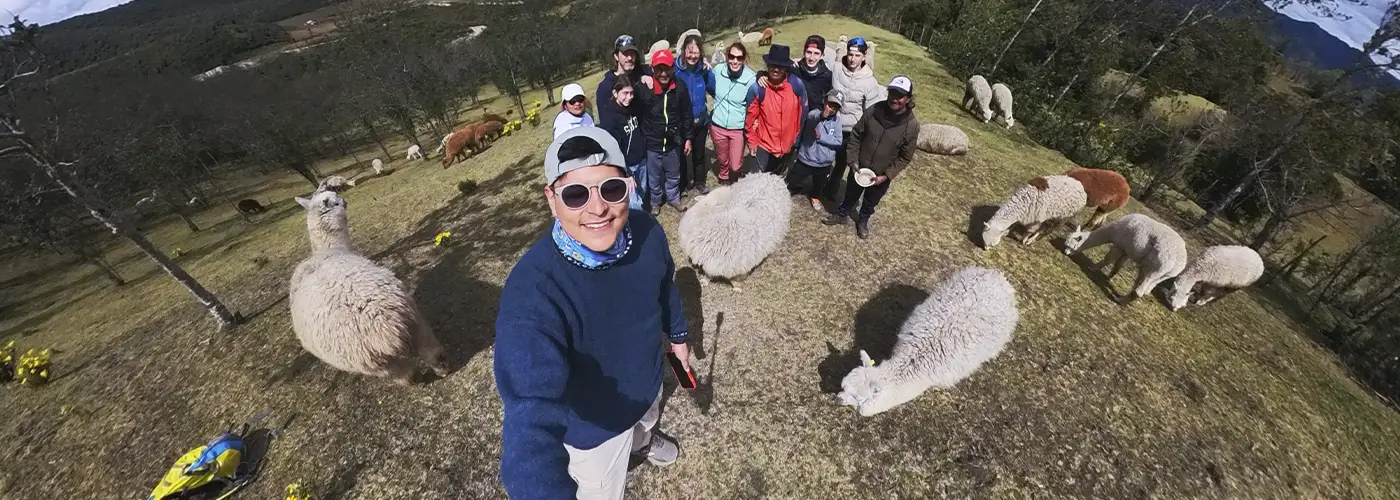
The páramo’s biodiversity surprises anyone expecting desolation. Frailejones with their silvery rosettes (like something from science fiction) dominate between 3,500 and 4,200 m, capturing and slowly releasing water. I’ve watched Andean condors over Antisana, páramo foxes nosing around camps, and with luck you might spot white-tailed deer.
Kichwa communities add profound depth to any expedition. In Chugchilán, a family taught me ancestral weaving techniques as we shared quinoa soup after a long day on the trail. These unplanned, generous moments turn a trek into a lasting human experience.
Frequently Asked Questions (FAQ)
Do I need a guide?
For popular beginner/intermediate routes like Quilotoa or lower-elevation walks in Cotopaxi, not if you have mountain experience and navigation skills. For any glacier or technical ascent, a certified guide is mandatory by regulation and strongly recommended for safety and local knowledge.
Can I hike alone?
Technically possible on established trails, but I don’t recommend solo travel in high mountains. A sprain or an altitude episode can become a serious emergency. Hike with at least one partner and share a detailed itinerary with someone.
How serious is altitude?
Very. Acute mountain sickness doesn’t discriminate by age, gender, or fitness. I’ve seen elite athletes succumb to soroche, while modestly fit but well-acclimatized hikers summit without issue. Follow acclimatization protocols without exception.
Your Next Adventure in the Ecuadorian Andes
The Ecuadorian Andes offer a unique gateway to high mountains—combining accessibility with real challenge, natural beauty with cultural richness, and physical effort with personal growth. After years on these trails, I’m convinced there’s something transformative about moving above 4,000 m, where air thins, horizons expand, and everyday worries fall thousands of meters below.
If this guide sparked your curiosity, the next step is clear: start planning. Download maps, check your gear, set a realistic acclimatization timeline, and—above all—keep an open mind for the lessons only the mountains can teach. Ecuador awaits with snow-capped volcanoes, improbable lagoons, and welcoming communities. The question isn’t if you should go, but when you’ll start walking toward summits that have claimed not just my bucket list, but a permanent corner of my adventurous heart.